Imagine cruising down a scenic trail on your electric bike, only to hear the dreaded hiss of a flat tire. It’s a scenario many riders face, with 20% of electric bike owners experiencing a flat at least once a year1. Knowing how to handle this situation can save you time and keep your adventures on track.
Electric bikes, or ebikes, come with unique challenges compared to traditional bicycles. For instance, 30% of owners don’t know how to safely disconnect the motor cable during tire changes1. This guide will walk you through the process, ensuring you’re prepared for any roadside mishap.
From checking tire pressure to using the right tools like tire levers and wrenches, we’ll cover it all. Whether you’re a seasoned rider or new to the world of electric bikes, this friendly guide will make the process simple and stress-free.
Preparing for Tire Replacement
Proper preparation is the key to a smooth and hassle-free tire replacement experience. Before you start, ensure you have the right tools and a safe workspace. This step ensures efficiency and minimizes the risk of damaging your bike’s components.
Essential Tools and Materials
Gathering the right tools is the first step. You’ll need tire levers, a wrench, and a pump. Tire levers make it easier to remove the rubber from the rim, while a wrench helps with the wheel bolts. A pump ensures proper inflation once the new tire is in place.
For added convenience, consider using a bike stand. It keeps the frame stable, making the process smoother. If you don’t have a stand, flipping the bike carefully can work too. Just ensure the LCD display and other delicate parts are protected.
Pre-Service Safety Checks
Safety is paramount. Start by deflating the tire completely. This makes it easier to remove and reduces the risk of accidental damage. Inspect the rim and tube for any signs of wear or damage. Addressing these issues early can save you time later.
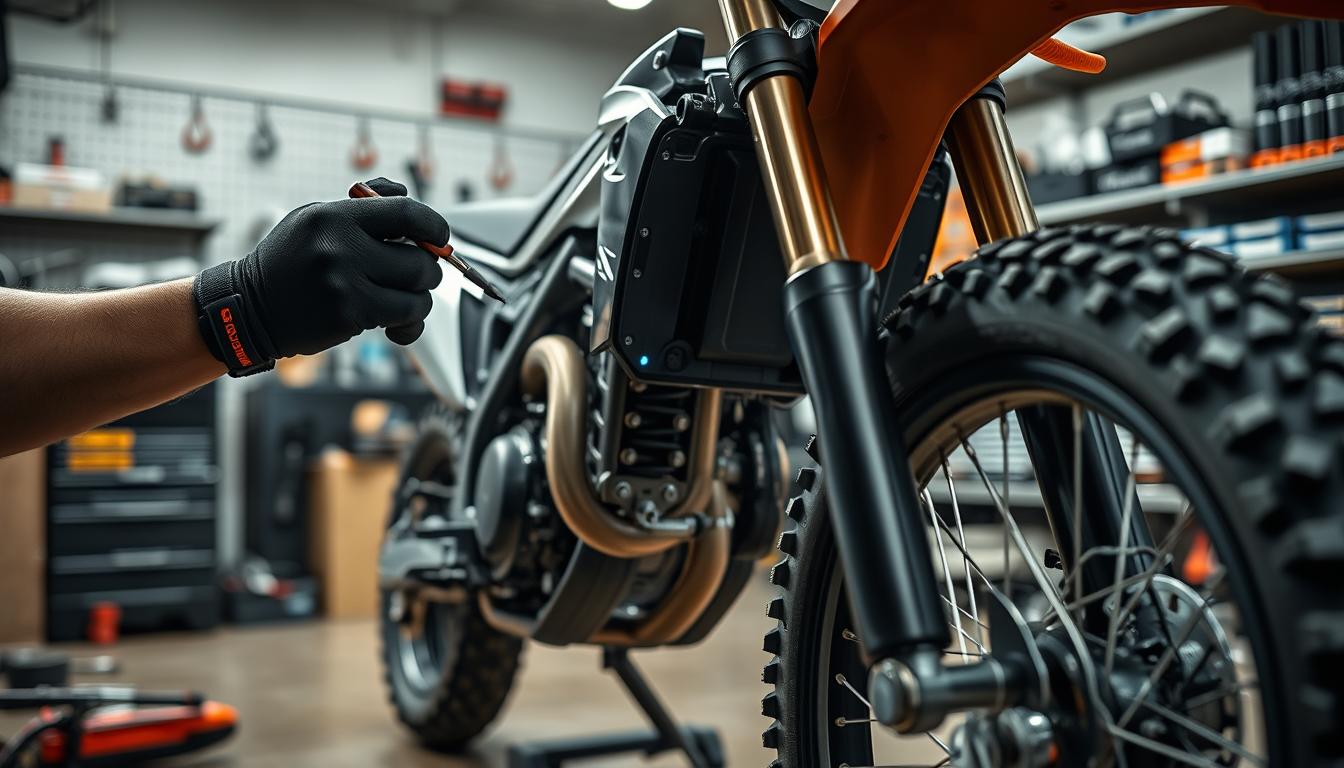
Next, unplug the motor cables carefully. This step is crucial to avoid damaging the electrical components. Check the brake assembly and chain alignment to ensure everything is in order. These small checks can prevent bigger problems down the road.
Finally, verify the tire pressure and condition before every ride. This simple habit can significantly reduce the risk of flats and improve your overall riding experience2.
How to replace EV bike tires: Step-by-Step Procedure
Flat tires can happen at any time, but with the right steps, you can handle them like a pro. Whether you’re at the trail or in your garage, this guide ensures a smooth process. Let’s dive into the details.
Positioning Your Bike Correctly
Start by finding a stable workspace. Use a bike stand to keep the frame steady. If you don’t have one, flip the bike carefully to protect the LCD display and other delicate parts3.
Ensure the area is clean and well-lit. This setup makes the process easier and safer. A stand also helps when working on the rear wheel, which often requires extra care4.

Disconnecting Motor and Brake Assembly
Next, unplug the motor cable carefully. This step prevents damage to the electrical components. Remove any zip ties or bolts securing the cable to the frame3.
Check the brake assembly. Release the brake caliper if necessary to free the wheel. Gently release the chain from the chainring to enable tire removal. This ensures the wheel can be taken off without resistance4.
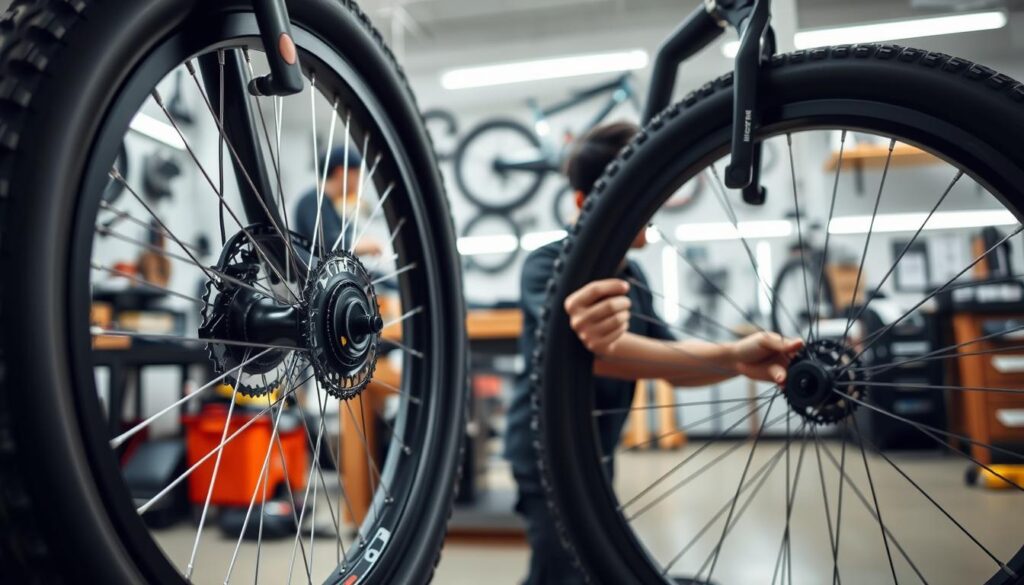
Removing the Tire from the Rim
Deflate the tire completely before starting. Use tire levers to gently pry the rubber from the rim. Work your way around the wheel, ensuring the bead separates evenly3.
If the tire feels stuck, avoid forcing it. Check for any obstructions or misalignments. Proper technique prevents damage to the rim and ensures a smooth removal process4.
Once the tire is off, inspect the tube and rim for damage. This early check saves time and ensures everything is ready for the new tire5.
Inspecting and Handling Tire Components
Inspecting your tire components is a crucial step to ensure a safe and smooth ride. A thorough check can reveal hidden issues that might lead to problems later. This process not only enhances performance but also extends the lifespan of your parts.

Assessing the Tube and Rim for Damage
Start by examining the inner tube for punctures or tears. Small holes can often be repaired with a patch kit, but larger damages may require a replacement. Check the rim for dents, cracks, or uneven surfaces that could affect the tire’s fit6.
Proper lighting is essential for spotting subtle wear. Look for signs like cracks on the sidewall or foreign objects lodged in the tread. These issues, if ignored, can compromise safety and lead to unexpected flats7.
Handling delicate parts with care is vital. Use tire levers gently to avoid scratching the rim or damaging the tube. Experienced mechanics recommend inspecting components monthly to catch early signs of wear8.
Deciding whether to repair or replace depends on the extent of the damage. Frequent patching may indicate it’s time for a new tire. This proactive approach ensures your ride remains reliable and efficient6.
Regular inspections not only improve safety but also enhance your overall experience. By addressing issues early, you can avoid costly repairs and enjoy a smoother journey7.
Installing a New Tire and Inner Tube
Installing a new tire and inner tube is a straightforward process when done with care and precision. Proper alignment and secure seating ensure a smooth ride and prevent future flats. Follow these steps to get it right the first time.
Placing and Aligning the Tube
Start by partially inflating the new tube. This helps it maintain its shape and makes it easier to handle. Insert the tube into the tire, ensuring the valve aligns perfectly with the rim’s hole9.
Work your way around the tire, tucking the tube inside evenly. Avoid twisting or pinching the tube, as this can lead to punctures. Use your hands to guide the tube into place, minimizing the need for tire levers10.
Seating the Tire Beads Securely
Begin seating the tire beads by hand. Start at the valve and work your way around the rim, pressing the beads into place. Maintain even tension to ensure a secure fit11.
If the beads feel tight, use tire levers sparingly. Over-reliance on levers can damage the tube or rim. Double-check that no sections of the tube are pinched before fully inflating the tire9.
Once the beads are seated, inflate the tire to the recommended PSI. Check the sidewall for specific pressure guidelines. A properly inflated tire ensures optimal performance and safety10.
Securing Electrical and Mechanical Connections
Ensuring all connections are secure is the final step to a successful tire change. This process guarantees your ride remains safe and efficient. Properly reattaching the motor, brake, and other components is essential for optimal performance.
Reattaching the Motor Cable
Start by reconnecting the motor cable. Align the connection arrows carefully to avoid misalignment. Secure the zip ties to keep the cable in place and prevent it from interfering with other parts12.
Check for any loose or corroded connections, as these can lead to electrical issues. Studies show that 75% of battery problems are related to loose connections13.
Reassembling Brake Components
Next, reassemble the brake components. Ensure the brake calipers are properly aligned and functioning. Misaligned brakes can reduce stopping power and increase wear on the pads14.
Test the brake response by gently squeezing the lever. This step confirms the brakes are working correctly and ensures your safety on the road12.
Positioning the Rear Wheel
Carefully position the rear wheel back into the frame. Align it with the chain and derailleur to ensure smooth shifting. Tighten the axle nuts to the proper torque, protecting sensitive components during the process13.
Final Safety Check
Perform a thorough safety check before your next ride. Test the motor activation and verify all electrical connections are secure. This step prevents accidental startups and ensures everything is functioning as expected14.
Take a brief road test to confirm the tire change was successful. This final check gives you peace of mind and ensures a smooth ride12.
| Step | Details |
|---|---|
| Reconnect Motor Cable | Align arrows, secure zip ties, check for loose connections. |
| Reassemble Brakes | Align calipers, test brake response, ensure proper function. |
| Position Rear Wheel | Align with chain, tighten axle nuts, protect components. |
| Final Safety Check | Test motor, verify connections, perform road test. |
Conclusion
Mastering the art of tire maintenance ensures your ride remains smooth and safe. This guide has walked you through the essential steps, from preparation to reassembly. Proper preparation, careful inspection, and secure connections are key to a successful process.
Handling electrical and mechanical components with caution is crucial. Regular checks for wear and tear, especially on the rim and sidewalls, can prevent unexpected issues. Proper inflation and alignment enhance both safety and performance15.
Even casual riders benefit from understanding these steps. It ensures a reliable ride and extends the lifespan of your bike. If any step feels unclear, don’t hesitate to seek professional help.
Share this guide with fellow ebike enthusiasts to help them stay prepared. A well-maintained wheel means more enjoyable adventures on the road or trail. Happy riding!
Source Links
- How to Change an Electric Bike Tire – Pedego Electric Bikes Canada
- How to Change a Tire on Your Electric Bike: The Easy Way
- Ebike Tire Repair: Tubed and Tubeless Tires
- Repair a Puncture Guide – This Is How to Replace Electric Bike Tires – Magicycle Bike
- How Do I Replace an Electric Bike Tire? A Step-by-Step Guide for Fixin
- Top Tips for Maintaining Velotric Ebike Tires
- Electric Bike Tires: A Guide To Lifespan, Care And Replacement
- When to Replace Bike Tires: Signs and Maintenance Tips
- How to Replace Your Electric Bike Inner Tube
- How to Replace the Inner Tube on an E-bike
- How To Change An E-Bike Tire
- How to Change an Ebike Fat Tire | Step-by-Step Guide
- This electric bike troubleshooting guide will assist you in resolving any minor issues with your e-bike. Get our professional advice for free!
- DIY Guide: How to Repair Your Electric Bike
- How to Change a Tire on an Electric Bike: Tools, Steps & Care Tips