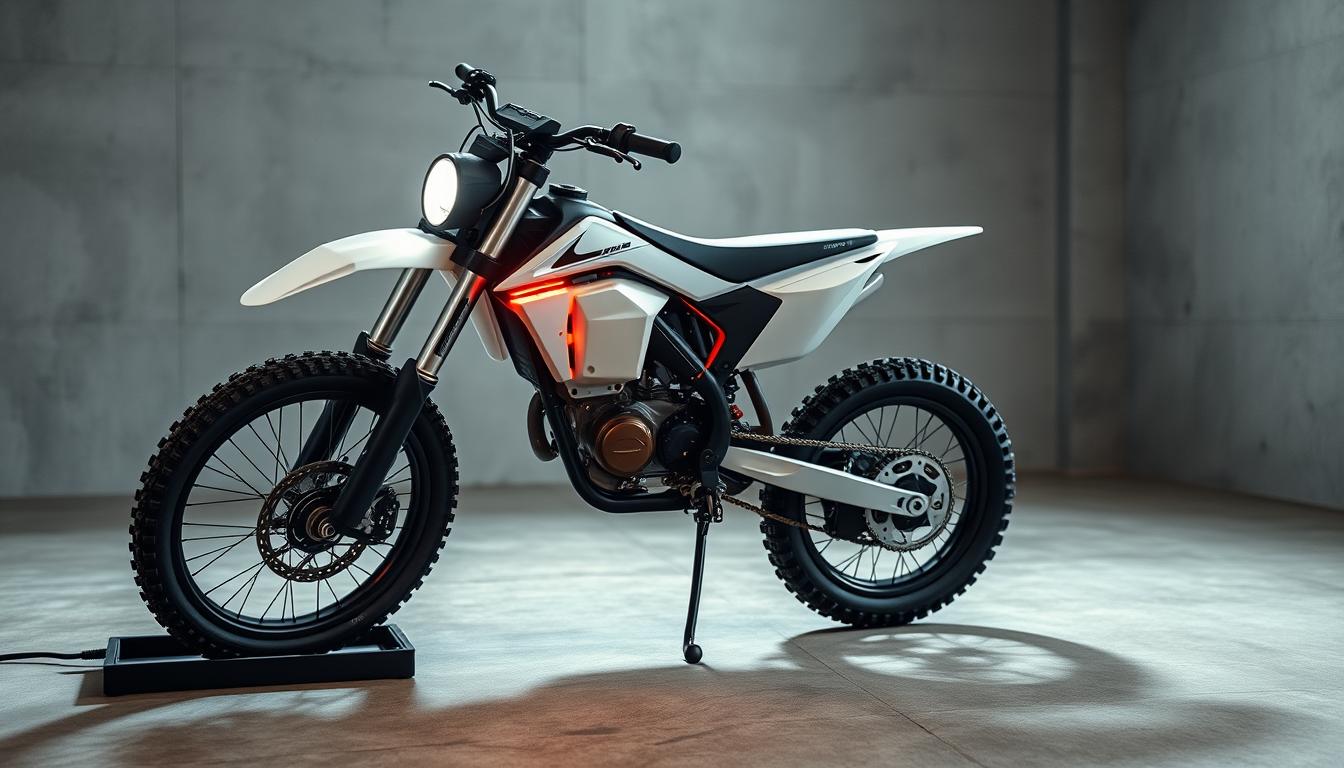
Imagine cruising down a scenic trail, only to find your electric bike struggling to maintain power. This scenario highlights the importance of keeping your battery in top shape. A well-maintained battery ensures smooth rides and extends the life of your bike.
Key components like the controller and motor work together with the battery to deliver optimal performance. Proper voltage management is crucial for maintaining system efficiency and preventing issues like power drops or overheating1.
Regular maintenance, such as cleaning and proper storage, can significantly extend your battery’s lifespan. Lithium-ion batteries, known for their high energy density and durability, are the most popular choice among riders2. By following simple steps, you can ensure your bike remains reliable for years to come.
Introduction to EV Bike Battery Upgrades
Have you ever wondered why some riders consistently enjoy longer rides without power issues? The answer often lies in their battery setup. Upgrading your system can make a significant difference in performance and reliability.
What Makes an EV Bike Battery Upgrade Essential?
Many riders face common questions about their battery’s lifespan and efficiency. For instance, a 48v system is popular for its balance of power and energy efficiency3. Proper charging techniques also play a crucial role in maintaining battery health and extending its life.
Higher capacity batteries, like Bosch’s 625Wh model, offer longer travel distances and better durability4. This ensures your rides are smoother and more reliable, even on challenging terrains.
The Benefits for Performance and Range
An upgraded battery can significantly improve your bike’s range. For example, Shimano’s 630Wh battery provides extended mileage, perfect for long rides4. This means fewer stops for charging and more time enjoying the journey.
Here’s a quick comparison of popular battery capacities:
| Brand | Capacity (Wh) |
|---|---|
| Bosch | 300 – 625 |
| Shimano | 418 – 630 |
| Giant | 300 – 625 |
In the next sections, we’ll explore how to choose the right components and optimize your setup for maximum performance and satisfaction.
Understanding EV Bike Battery Systems
Exploring the inner workings of your electric ride can unlock new levels of performance. The system that powers your journey relies on three key components: the battery, controller, and motor. Each plays a vital role in ensuring smooth and efficient rides.
Key Components: Battery, Controller, and Motor
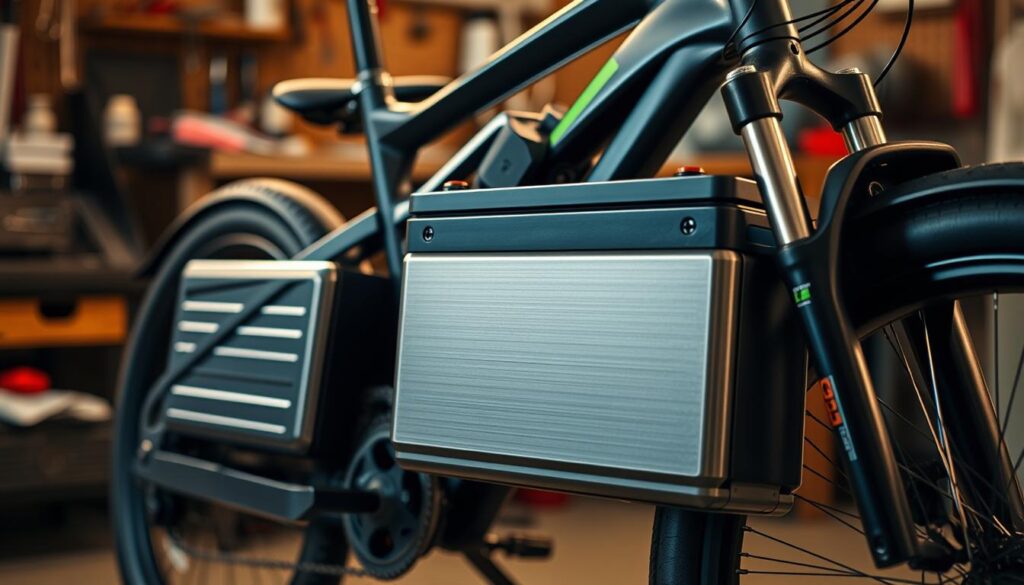
The battery is the heart of your system, storing energy to power your ride. Modern lithium-ion batteries, like those from Bosch and Panasonic, offer high energy density and durability5. The controller acts as the brain, managing power flow to the motor. Finally, the motor converts electrical energy into motion, propelling you forward.
Battery Types and Voltage Considerations
Batteries come in various types and voltages, each suited for different needs. A 36V battery is ideal for city commutes, while a 48V system offers increased performance for longer rides and hill climbing6. For high-performance needs, 52V and 72V batteries provide higher torque and speed.
Here’s a quick comparison of popular battery types and their applications:
| Voltage | Weight | Best Use Case |
|---|---|---|
| 36V | 5 lbs | City Commutes |
| 48V | 6-8 lbs | Longer Rides |
| 52V | 8-10 lbs | Performance Rides |
| 72V | 24-25 lbs | Off-Road Adventures |
Choosing the right type and voltage ensures your system meets your riding needs. Whether you’re a casual rider or an off-road enthusiast, understanding these components helps you make informed decisions.
Preparing for Your Upgrade Journey
Taking the time to prepare for your battery upgrade ensures a smooth and safe process. Proper planning helps avoid common pitfalls and ensures your system performs at its best. Let’s dive into the essential steps to get ready for this important project.
Safety Precautions and Tools Checklist
Safety should always come first when handling battery packs. Start by wearing protective gear like gloves and safety glasses. Ensure your workspace is clean, dry, and free from flammable materials. Disconnect the power source before working on the system to prevent accidents.
Here’s a checklist of tools you’ll need:
- Insulated screwdrivers and wrenches
- Multimeter to check amp and voltage levels
- Anti-static wrist strap to protect sensitive components
- Fire extinguisher rated for electrical fires
Following these precautions minimizes risks and ensures a safe upgrade process7.
Assessing Your Existing Battery Setup
Before making any changes, evaluate your current setup. Check the battery pack for signs of wear, such as cracks or swelling. Use a multimeter to measure the amp and voltage ratings, ensuring they match your system’s requirements8.
Consider the price and quality of new components. Higher-capacity packs may cost more but offer better performance and longevity. For example, a 48V 15Ah pack provides 720 watt-hours, ideal for extended rides7.
Proper assessment ensures compatibility and maximizes the benefits of your upgrade. Take your time to make informed decisions for a successful project.
How to upgrade EV bike batteries
Enhancing your ride starts with a well-planned battery upgrade process. A new power source can significantly improve your electric bike’s performance, offering better speed and extended range. Whether you’re a DIY enthusiast or prefer professional help, understanding the steps ensures a smooth transition.
Step-by-Step Overview of the Upgrade Process
Begin by disconnecting the old battery. Ensure the system is powered off to avoid accidents. Use insulated tools to remove the connections carefully. Next, check the physical dimensions of the new battery to ensure it fits your bike’s compartment9.
When installing the new battery, link all components correctly. This includes connecting the Battery Management System (BMS) to manage voltage and temperature effectively9. Proper connections ensure smooth operation and prevent damage to the system.
Finally, test the setup before hitting the road. Use a multimeter to verify the power output and ensure everything is functioning as expected. For complex systems, consider consulting a professional to avoid compatibility issues10.
“A well-executed upgrade not only boosts performance but also extends the life of your ride.”
Upgrading your battery can unlock new levels of speed and efficiency. With the right approach, you’ll enjoy longer rides and a more reliable experience. Take your time, follow the steps, and enjoy the benefits of a well-planned upgrade.
Selecting the Right Battery and Components
Choosing the perfect battery for your electric ride can transform your experience. A well-matched series and voltage battery ensure your system runs smoothly and efficiently. Understanding your needs is the first step to finding the ideal setup.
Matching Voltage, Capacity, and Amperage Requirements
Start by checking your system’s voltage and capacity needs. For example, a 36V battery is ideal for city commutes, while a 48V system offers more power for longer rides11. Ensure the amperage matches your controller’s rating to avoid overloading the system.
Lithium-ion batteries, like the 18650 cells, provide high energy density and longer range compared to older models11. A 500 watt-hour battery can deliver 500 watts for 1 hour, making it perfect for extended journeys11.
Understanding Battery Pack Options and Ratings
Battery packs come in various configurations, each suited for different needs. For instance, a 36V 10Ah pack offers 360 watt-hours, providing a range of 22 miles on a full charge11. Compare series and parallel setups to find the best fit for your ebike.
Here’s a quick comparison of popular battery types:
| Type | Capacity (Wh) | Best Use Case |
|---|---|---|
| Lithium-ion | 360 – 630 | Long rides, high performance |
| Lead Acid | 180 – 300 | Budget-friendly, short commutes |
| NiMH | 240 – 480 | Mid-range, moderate performance |
Selecting the right voltage battery and series ensures your ride is both powerful and efficient. Take your time to compare options and make an informed decision.
Step-by-Step Battery Removal and Installation
Swapping out your battery can feel like giving your ride a fresh lease on life. Whether you’re handling a 36v system or a higher voltage setup, the process requires careful attention to detail. Here’s how to do it safely and effectively.

Disconnecting the Old Battery Safely
Start by turning off the system and removing the key, as most batteries are designed with locking mechanisms12. Use insulated tools to disconnect the terminals, ensuring no accidental contact with live wires. For SLA systems, handle with extra care to avoid spills or short circuits13.
Check for signs of wear, such as bulging or leaks, which indicate it’s time for a replacement13. Store the old battery in a cool, dry place, ideally at a charge level between 40% and 80% to maintain its health13.
Installing the New Battery Pack with Precision
Before installation, verify the new battery’s voltage and capacity match your system’s requirements. For 36v setups, ensure the connectors align perfectly to avoid power mismatches13. Pay attention to every bit of wiring, as loose connections can lead to performance issues.
Secure the battery in place, ensuring it’s stable and upright. For SLA packs, avoid tilting or shaking during installation to prevent damage13. Once installed, test the system with a multimeter to confirm proper voltage and amperage levels.
Here’s a quick comparison of battery handling tips:
| Battery Type | Precautions |
|---|---|
| 36v | Check connectors, avoid loose wiring |
| Higher Voltage | Use insulated tools, handle with care |
| SLA | Store upright, avoid spills |
By following these steps, you’ll ensure a smooth transition to your new power source. Take your time, double-check every detail, and enjoy the enhanced performance of your ride.
Optimizing Battery Performance and Charging
Maximizing your ride’s potential starts with understanding battery care and charging techniques. Proper maintenance and efficient power management can significantly enhance your system’s performance and lifespan. Let’s explore how to achieve this.
Proper Charging Techniques for Maximum Lifespan
Charging your battery correctly is essential for its longevity. Always charge before the capacity drops below 30% to maintain efficiency14. Avoid overcharging, as it can reduce the battery’s lifespan over time.
Store your battery at a charge level of 30 to 60% for long-term storage to prevent deep discharge damage15. Keep it in a cool, dry place, ideally around 68°F (20°C), to maintain optimal performance14.
Here’s a quick guide to charging best practices:
- Use a compatible charger to avoid extended charge times or damage14.
- Charge in a temperature-controlled environment to prevent inefficiency in cold weather14.
- Monitor the charging process to ensure safety and avoid overheating15.
Improving Range with Efficient Power Management
Your motor controller plays a crucial role in managing power flow. Optimize its settings to balance performance and energy consumption. For example, pedaling at 70 to 90 rpm can increase your range by 10 to 12% compared to slower speeds16.
Adjusting the motor controller to match your riding style can also enhance efficiency. Avoid using Boost or Turbo modes excessively, as they accelerate charging cycles and shorten battery life15.
Here’s a comparison of power management strategies:
| Strategy | Benefit |
|---|---|
| Optimal Pedaling Speed | Increases range by 10-12%16 |
| Moderate Power Modes | Extends battery lifespan15 |
| Temperature Control | Maintains efficiency in cold weather14 |
By following these tips, you can ensure your battery performs at its best. Proper care and efficient power management are the keys to a smoother, longer-lasting ride.
Troubleshooting Common Battery Upgrade Challenges
Navigating the challenges of a battery upgrade can be tricky, but with the right approach, you can avoid common pitfalls. Whether you’re dealing with voltage mismatches or power loss, understanding these issues ensures a smooth process. Let’s explore practical solutions to keep your ride running efficiently.

Identifying and Resolving Voltage Mismatches
One of the most common issues is a voltage mismatch. This occurs when the new battery’s voltage doesn’t align with your system’s requirements. For example, a 48V battery may not work with a 36V controller, leading to potential damage17.
To resolve this, always check the voltage rating before installation. Use a multimeter to verify the power output and ensure compatibility. If a mismatch is detected, consider upgrading your controller to match the new battery’s specifications18.
Addressing Power Loss and System Resistance Issues
Power loss can significantly reduce your distance and performance. This often stems from high system resistance or loose connections. Inspect all wiring and connectors to ensure they’re secure and free from corrosion17.
Another idea is to check the Battery Management System (BMS). A well-functioning BMS prevents overcharging and ensures balanced cell voltage, reducing the risk of damage19. Regular maintenance and proper charging techniques also play a crucial role in minimizing power loss.
“A proactive approach to troubleshooting can save time and prevent costly repairs.”
By addressing these challenges methodically, you can ensure your upgrade is successful. Take your time, follow the steps, and enjoy the benefits of a reliable and efficient ride.
Cost, Compatibility, and Safety Considerations
Understanding the costs and compatibility of a new battery is essential for a smooth upgrade. Whether you’re upgrading to a 48v battery or another option, careful planning ensures everything will work as intended. Let’s explore the financial, technical, and safety aspects to consider.
Budgeting for Battery Upgrades and Component Costs
Upgrading your ride’s power source can vary in cost. On average, a new battery ranges from $200 to $800, depending on the brand and capacity20. Higher-end models may require proprietary batteries, which can be more expensive. Budgeting for these costs helps avoid surprises.
For example, a 48v battery typically costs more than a 36v option but offers increased power and range21. Compare prices and features to find the best fit for your needs. Don’t forget to factor in additional components like chargers or adapters.
Ensuring Compatibility with Motor Controllers and Frames
Compatibility is crucial for a successful upgrade. A 48v battery may not work with a 36v motor controller, leading to potential damage21. Always check the voltage and amperage requirements of your system before making a purchase.
Your ride’s frame design also plays a role. Some batteries are larger or heavier, which may not fit or could affect balance. Measure your frame and compare it with the new battery’s dimensions to make sure it fits properly.
Here’s a quick comparison of battery compatibility factors:
| Factor | Consideration |
|---|---|
| Voltage | Match with motor controller |
| Size | Ensure it fits the frame |
| Weight | Avoid imbalance or strain |
Safety is another critical aspect. Improper installation or mismatched components can lead to overheating or short circuits. Always follow the manufacturer’s guidelines and use insulated tools during installation20.
“A well-planned upgrade ensures your ride is both powerful and safe.”
By balancing cost, compatibility, and safety, you can enjoy a smoother and more reliable experience. Take your time, do your research, and make sure every component works together seamlessly.
Conclusion
A well-chosen power source can transform your cycling experience, ensuring longer rides and better performance. Throughout this guide, we’ve explored the essential steps for selecting and installing the right battery. By focusing on factors like rating, weight, and size, you can optimize your system for maximum efficiency.
Proper installation ensures balanced weight distribution, improving handling and stability. A battery with the right size and capacity enhances your ride, offering extended range and smoother performance. Lithium-ion batteries, known for their durability and high energy density, are a reliable choice for long-term use22.
Following these guidelines ensures a successful upgrade, giving you confidence on every journey. Take the time to choose wisely, and enjoy the benefits of a more powerful and efficient system. Your next ride will be smoother, longer, and more enjoyable than ever before.
Source Links
- The Ultimate Guide to Upgrading Your Electric Bike Battery | Himiway
- E-Bike Battery Replacement: Everything You Need to Know
- The Complete Guide to Electric Bike Batteries | Pedego Electric Bikes
- Replacement Electric Bike Batteries Guide | EBR
- eBike Batteries Explained
- The Comprehensive Guide to E-Bike Batteries: Key Factors You Need to K
- The Complete Guide to E-Bike Batteries: Care, Maintenance, and Storage
- How to Upgrade Your Budget E-Bike for Better Performance
- Install a Bigger Battery on an Electric Bike (For 30% Range)
- Upgrading Your E-Bike: Can You Install a Bigger Battery?
- Electric Bike Batteries Explained
- PrestaBlog
- How to Remove E-Bike Battery: A Step-By-Step Guide
- The Complete Guide to E-Bike Batteries: Care, Maintenance, and Storage
- How to Charge an E-Bike for Maximum Battery Life
- How to Make Your Electric Bike Last Longer – Consumer Reports
- Questions about E-Bike battery upgrade
- How to Upgrade Electric Bike Batteries – Jieli Electric
- Electric Bike Troubleshooting Guide – Velotric
- How to Choose the Right Electric Bike Battery Replacement
- Comprehensive Guide to Electric Bike Batteries
- How to Replace Batteries for Electric Bikes